


Key Takeaways:
- White gel for nails is a gel polish known for its durability and pristine finish.
- The application involves a base coat, white gel polish, and a top coat, all cured under a UV or LED lamp.
- Proper removal requires soaking in acetone and gentle scraping, ensuring nail health is maintained.
White nail gel has become a staple in the beauty industry, offering a sleek and clean look that's perfect for any occasion. Whether you're a professional nail technician or a DIY enthusiast, understanding the ins and outs of white gel polish is essential for achieving that flawless manicure. In this comprehensive guide, we'll explore everything from the basics of white gel polish to expert tips for application and removal.
The Basics of White Gel Polish
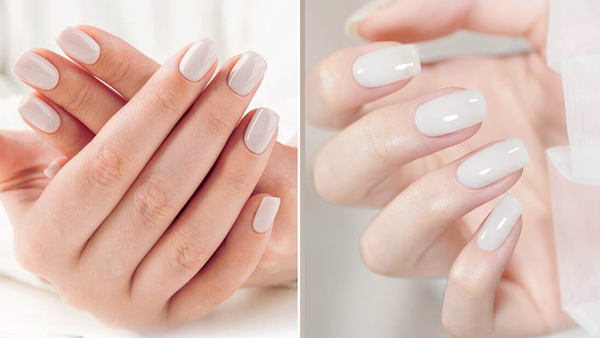
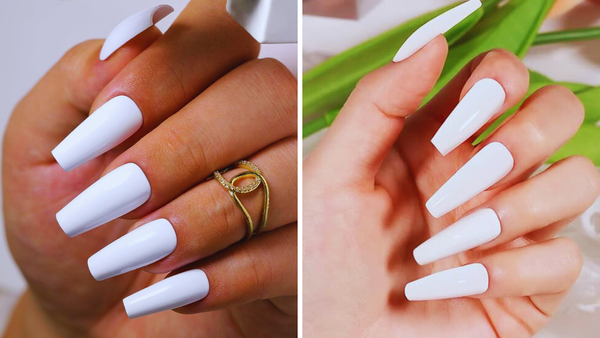
White gel polish is a thick, pigmented lacquer applied similarly to traditional nail polish but with a few key differences. Unlike regular polish, gel requires curing under a UV or LED lamp to set. This process creates a durable, glossy finish that lasts for weeks without chipping or peeling. The best white gel nails come from high-quality products and precise application techniques.
Preparing Your Nails for Gel Polish
Before you dive into painting your nails with white gel, proper preparation is crucial. Start by shaping your nails with a file to your desired shape. Push back and trim your cuticles with a cuticle pusher to ensure a clean nail plate. A buffed surface will help the gel polish adhere better, reducing the likelihood of lifting or peeling.
Applying the Base Coat
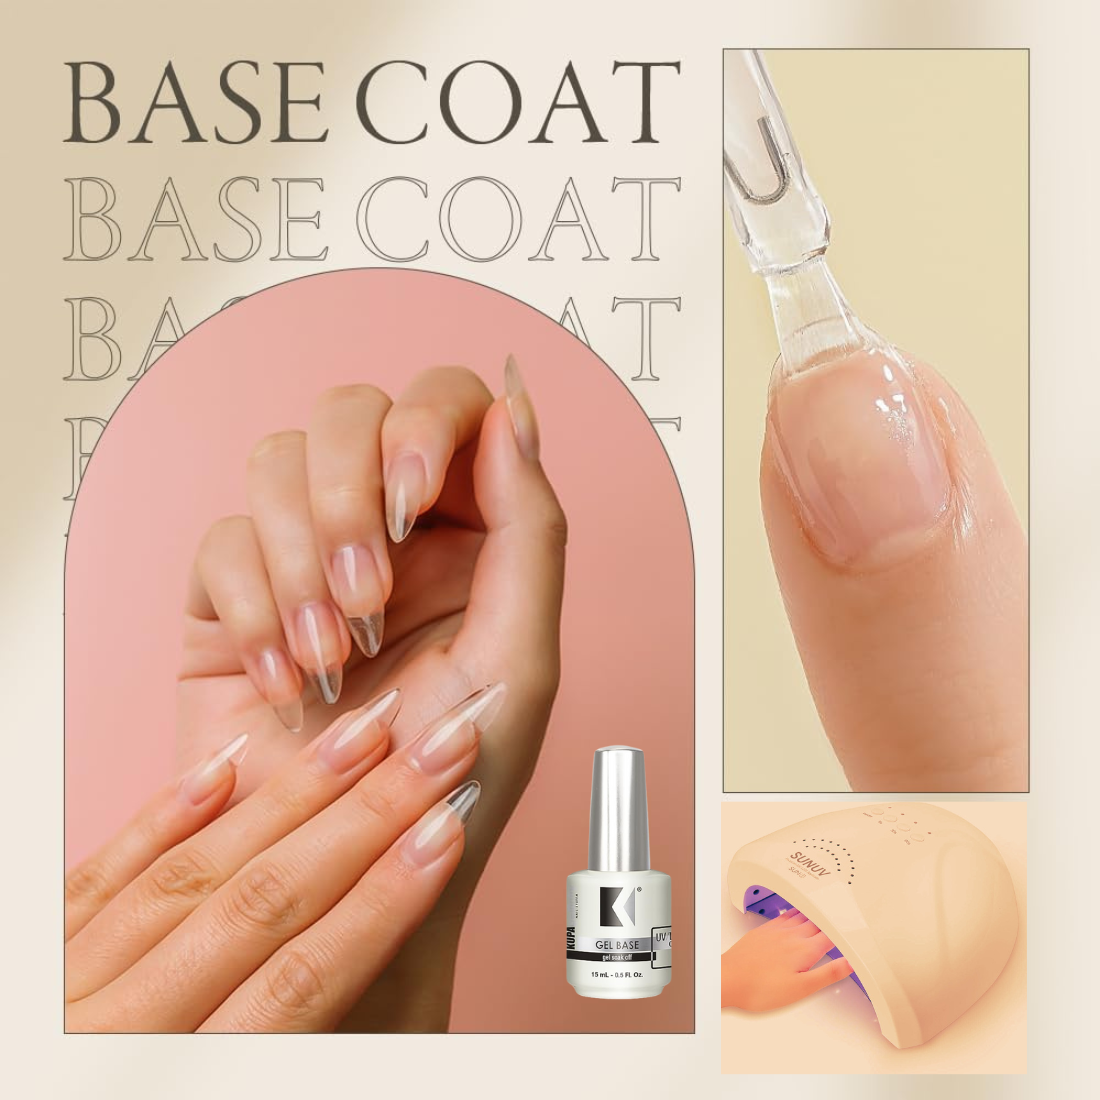
The first step in the gel polish process is applying a thin layer of base coat. This layer is essential as it protects the nail plate and ensures the white gel polish adheres properly. After applying the base coat, cure it under a UV or LED lamp for the recommended cure time specified by the product.
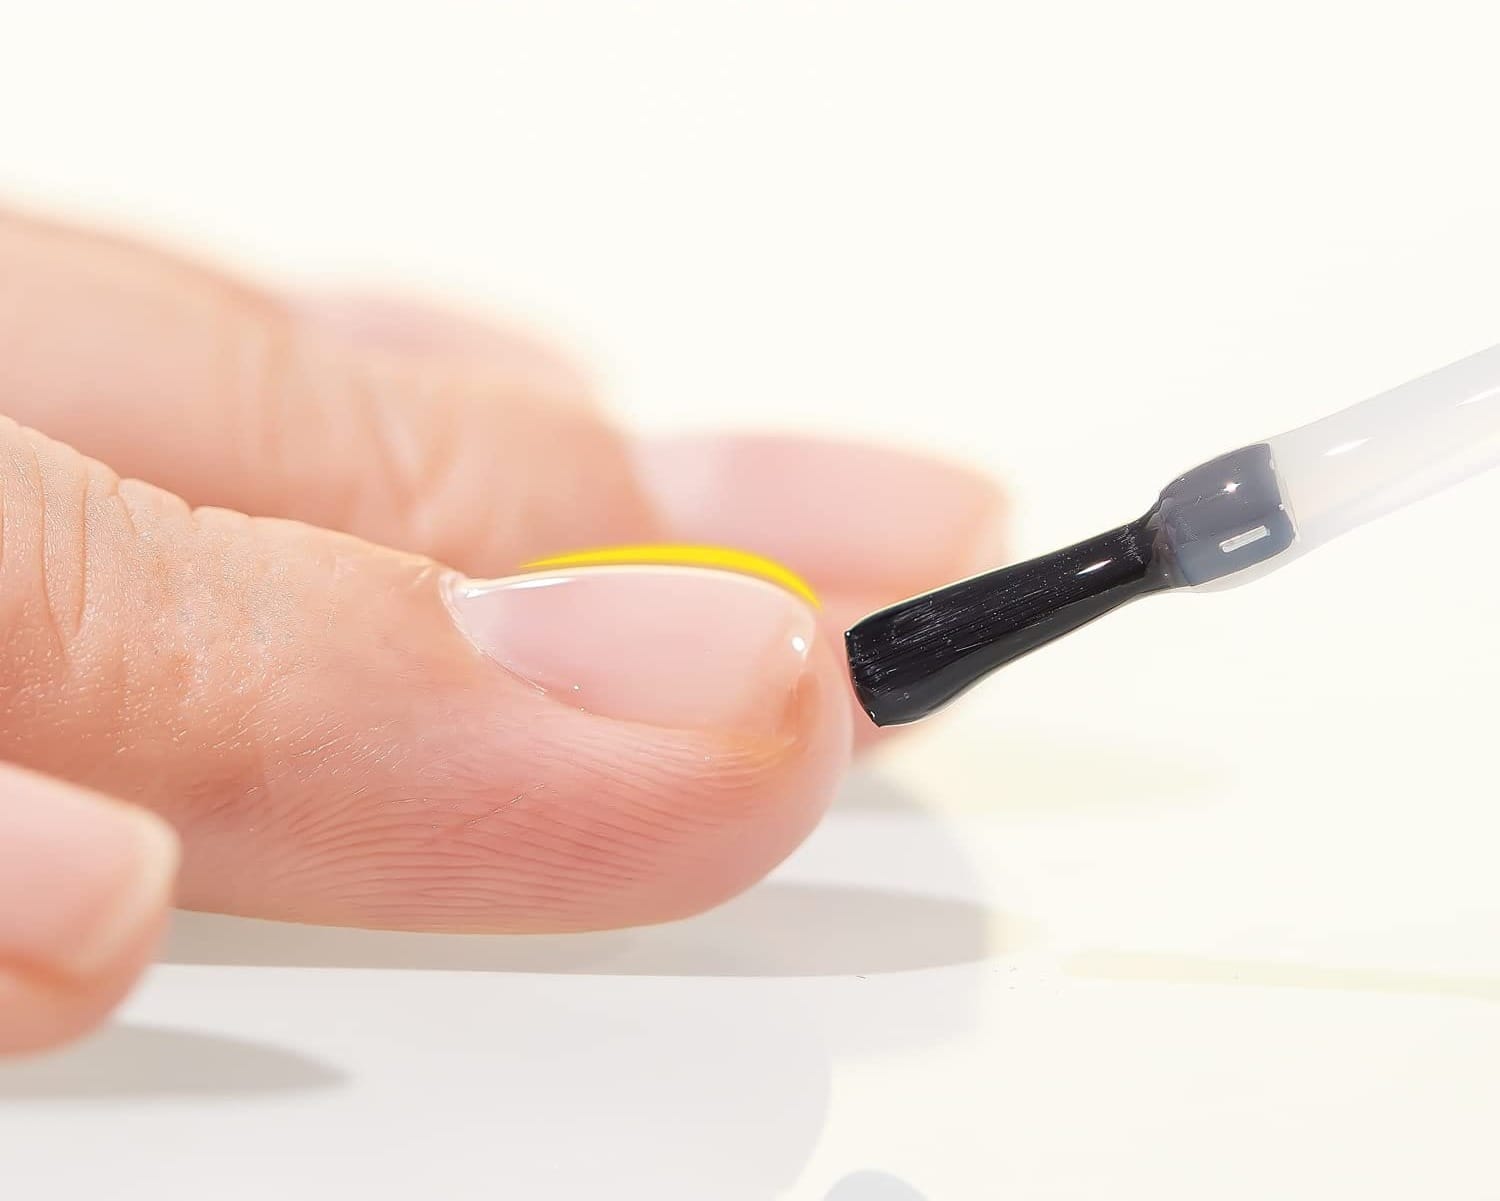
Achieving the Perfect White Gel Layer
When applying the white gel polish, consistency is key. Apply a thin layer of the white gel, taking care not to flood the cuticles or sidewalls. A thin layer will cure more evenly and prevent any unwanted thickness. After the first coat, cure it under the lamp and apply a second coat if necessary to achieve full coverage.
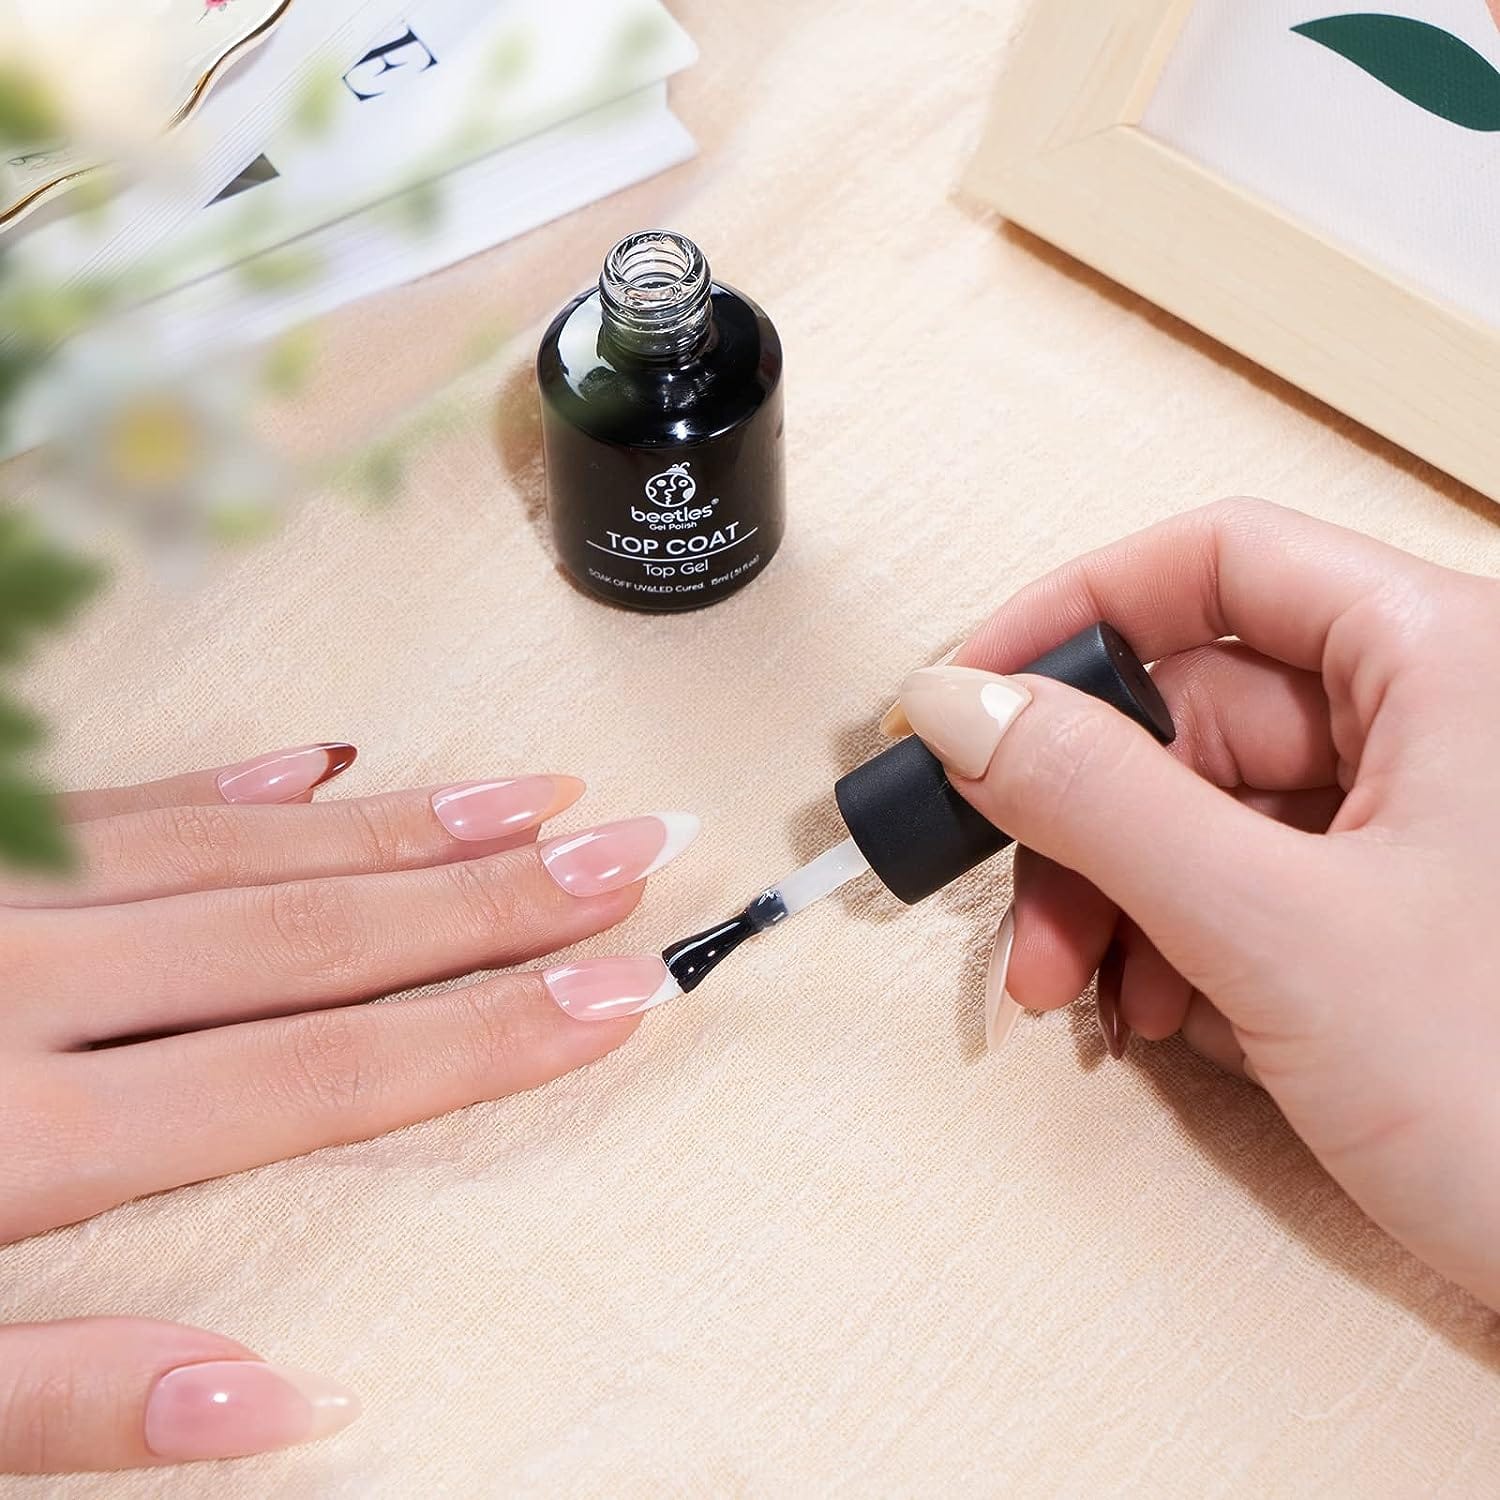
Sealing with a Top Coat
To seal in the color and add an extra layer of shine, finish off with a top coat. The top coat is a protective barrier, ensuring your white gel nails remain shiny and chip-free. Cure the top coat under the lamp, and then wipe off any sticky residue with a cotton pad soaked in a cleanser.
The Science Behind Gel Polish Durability
Gel polishes have revolutionized the nail industry with their long-lasting shine and durability. But what is the science that makes white gel for nails so resilient? The secret lies in the chemical composition of the gel polish. When you apply a thin layer of white gel polish to your nail plate, you coat your nails with a formula designed to harden under a UV or LED lamp. This process, known as curing, creates a bond that is much stronger than that of traditional nail polish.
The durability of gel polish can vary slightly depending on the brand and the specific formula used. However, the common denominator is the presence of photoinitiators in the gel, which react to the light from a UV or LED lamp. This reaction sets the polish, transforming it from a liquid to a solid state. This hardened layer is not only more resistant to chips and peeling but also maintains its shine for weeks. To ensure the best results, always shake the bottle well before use to mix the ingredients for consistent color and consistency.
Tips for Achieving the Perfect Gel Manicure at Home
Creating the perfect white gel nails at home is all about technique and having the right tools. Start by prepping your nails properly: shape them to your desired style, push back and trim your cuticles, and gently buff the surface of your nail plate to remove any oils or residue. This will help the gel polish adhere better and reduce the chance of lifting or peeling. Apply a thin layer of base coat and cure it under a UV or LED lamp as directed. This step is crucial for a durable foundation.
Next, apply the white gel polish in thin, even coats. Each coat should be cured under the lamp for the specified cure time to ensure it sets properly. If the layers are too thick, the polish may not cure evenly, leading to wrinkles or bubbles. After achieving the desired opacity with the white gel, seal everything with a top coat and cure once more. This will lock in the color and add an extra layer of protection. Remember to avoid direct sunlight during the application process, as UV rays can cause the polish to begin curing prematurely.
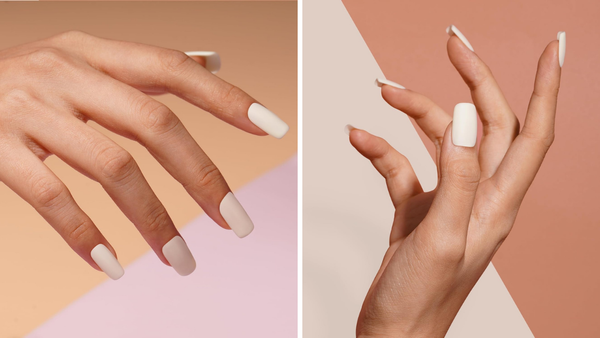
Nail Art Designs with White Gel
White gel polish serves as a fantastic canvas for nail art designs. From delicate florals to geometric patterns, the neutral shades of white provide a perfect backdrop for creativity. Use thin brushes or dotting tools to add intricate details over the white base.
The Importance of Proper Curing
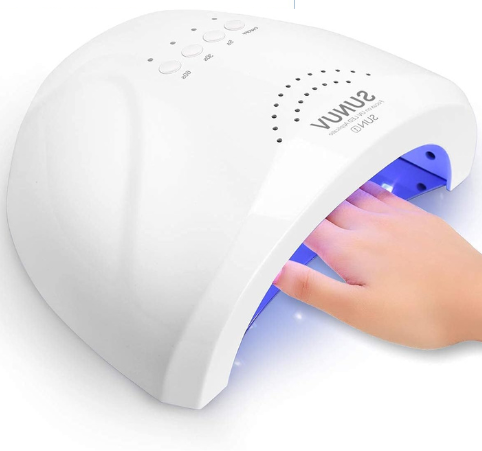
Curing is a critical step in the gel polish process. Whether using a UV lamp or an LED lamp, follow the manufacturer's recommended cure time. Under-curing can lead to peeling or premature chipping, while over-curing can cause the polish to become brittle.
Maintaining Your White Gel Nails
To keep your white gel nails looking their best, avoid direct sunlight exposure, which can cause discoloration. Also, regularly apply cuticle oil to keep your nails and cuticles hydrated. If you notice any lifting, resist the urge to peel the gel off, which can damage the nail plate.
Removing White Gel Polish Safely
When it's time to remove your white gel polish, patience is key. Soak a cotton pad in acetone and place it over the nail, securing it with foil. After the recommended soak time, gently scrape off the loosened gel with a cuticle pusher. Avoid forceful scraping, as this can harm the natural nail.
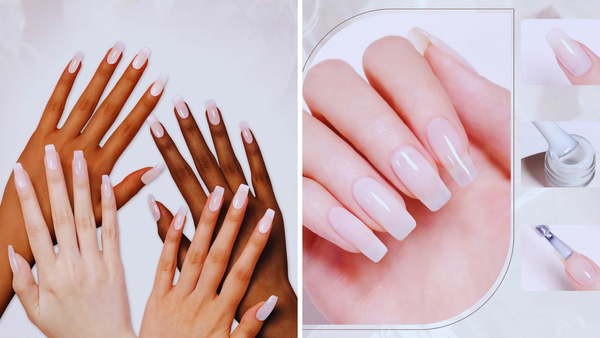
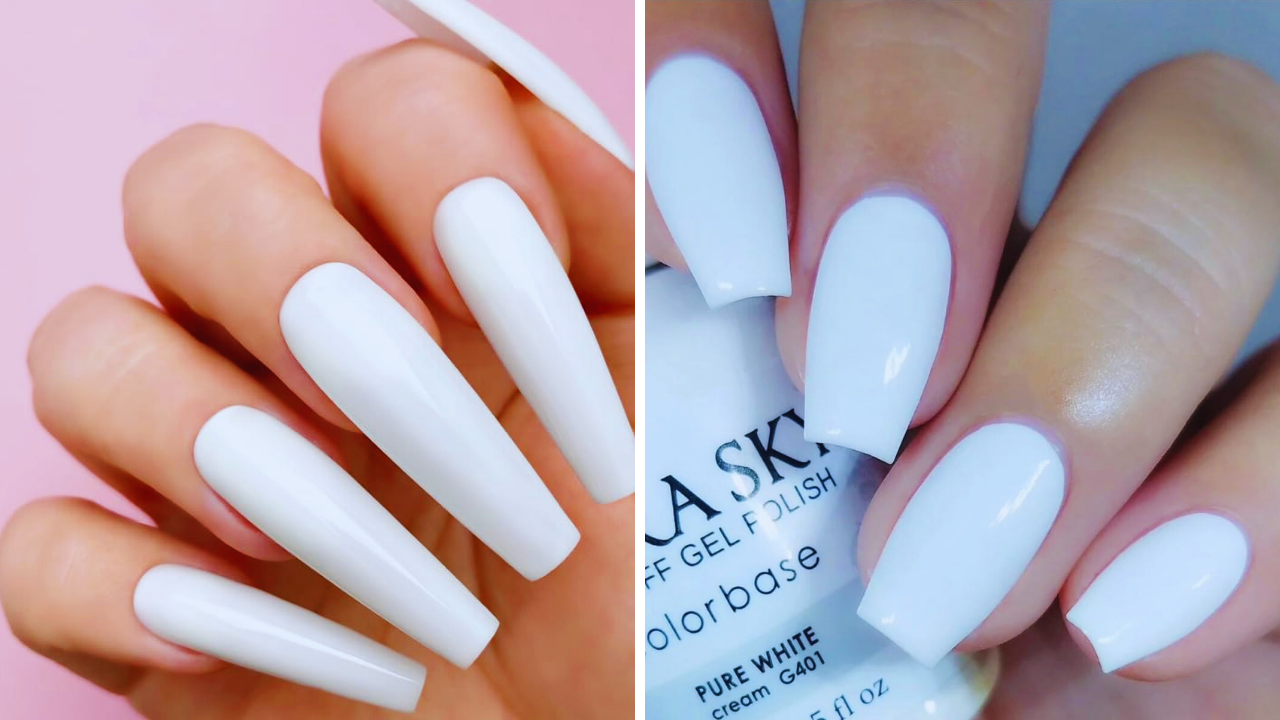
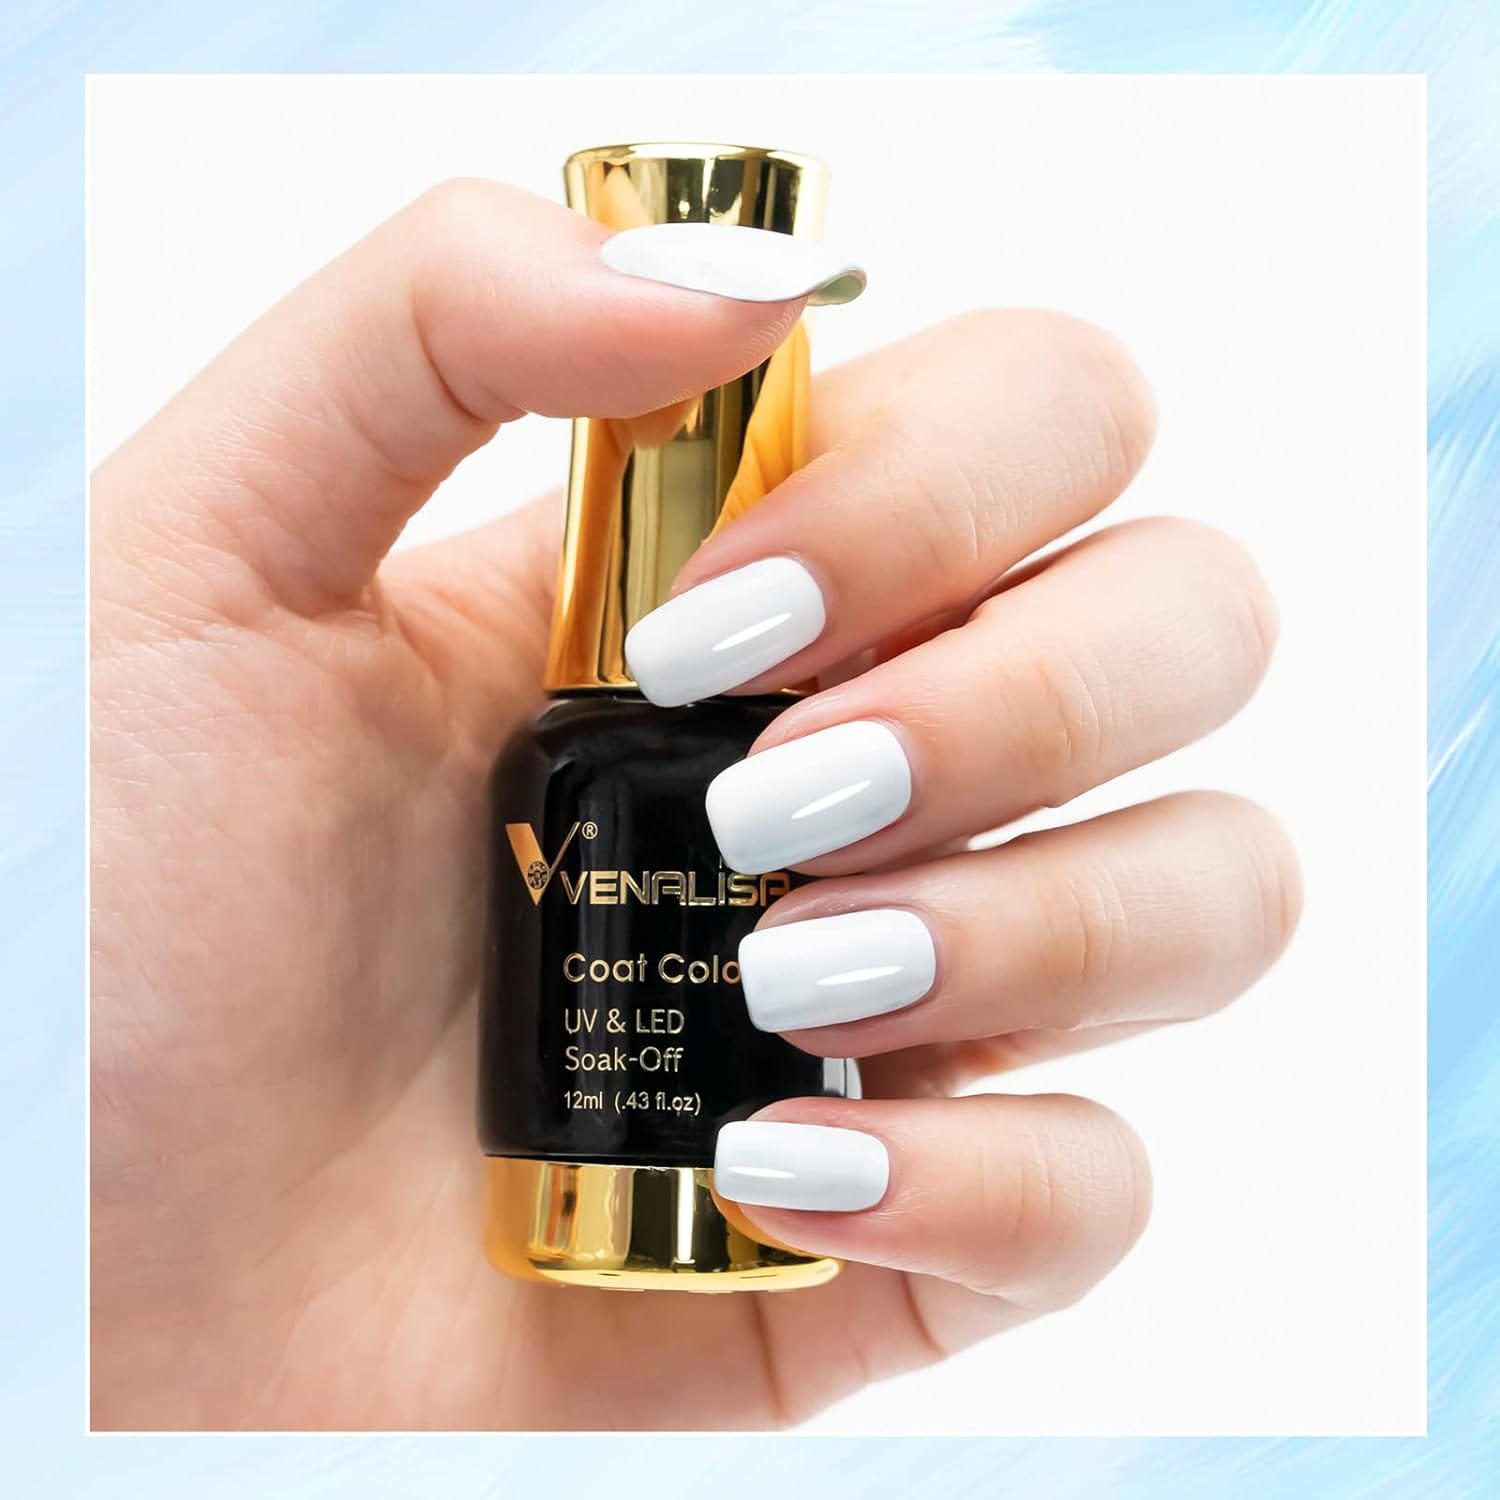
Shopping for White Gel Polish
When looking for the best white gel polish, consider verified buyer reviews to gauge the product's quality. Look for polishes that promise a durable finish and a formula that won't yellow over time. Reputable brands often have a range of white shades that vary slightly, allowing you to find the perfect match for your skin tone.
DIY Tips for Perfect White Gel Nails
For those who prefer to do their nails at home, investing in a quality UV or LED lamp is essential. Practice applying thin coats and curing them properly to avoid any issues. Shake the bottle well before use to ensure the gel's consistency is even, and always apply in a well-ventilated area.
Summary
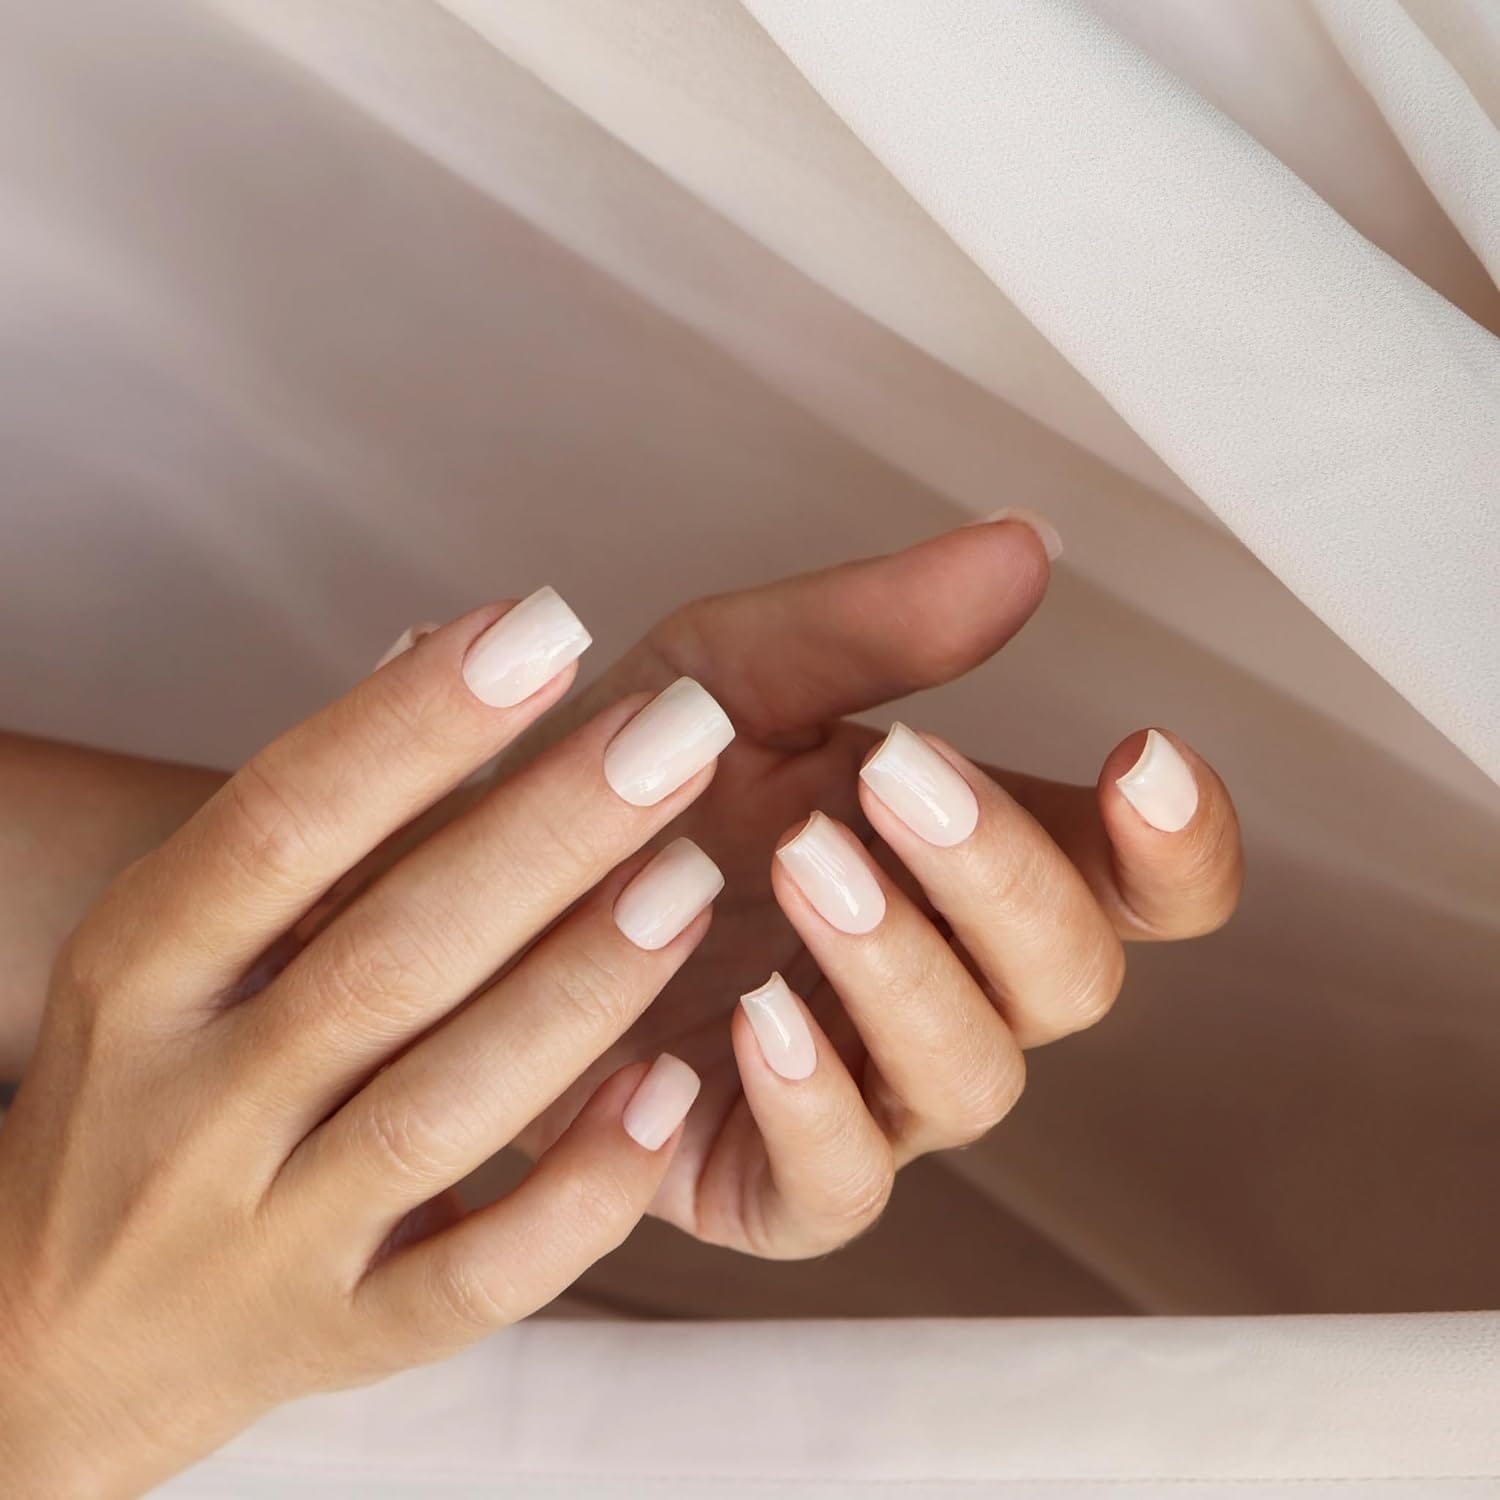
White gel for nails is a versatile and durable option for those seeking a long-lasting, chip-resistant manicure. Following proper nail preparation, application, and removal, you can achieve professional-looking white gel nails at home or in the salon. Remember to invest in quality products and take the time to care for your nails to maintain their health and appearance.
FAQ Section
How long does white gel polish last on nails?
White gel polish can last up to two to three weeks with proper application and aftercare. The longevity can vary slightly depending on your daily activities and how well you maintain your nails.
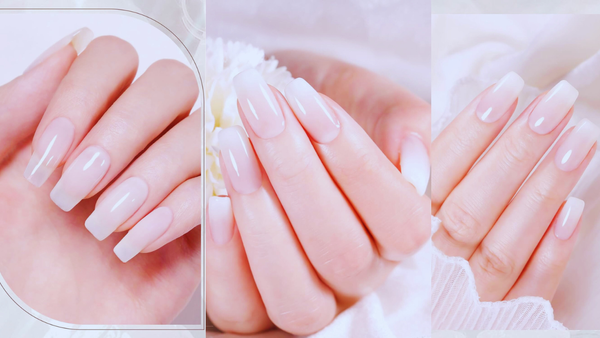
Can white gel polish be used for French manicures?
Absolutely! White gel polish is perfect for creating the crisp white tips associated with French manicures. Its opacity and durability make it an ideal choice for this classic nail art design.
Is it necessary to use a UV or LED lamp with white gel polish?
Yes, curing white gel polish under a UV or LED lamp is necessary to harden the polish and ensure it sets properly. Without curing, the gel polish will not dry and achieve the desired durability and shine.