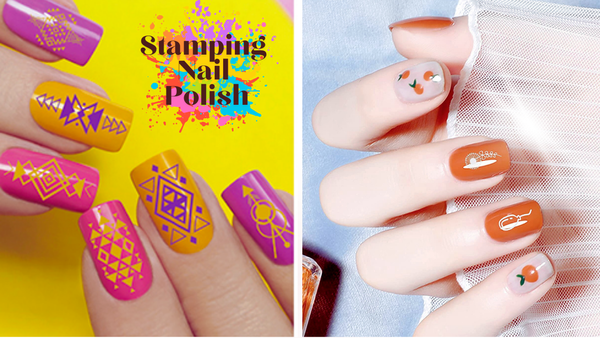


Are you looking for nail polish that stamps like a pro? The best ones have a high finish, bold opacity, vivid pigmentation, and a consistent texture that transfers designs every time. This post simplifies what nail polish is good for stamping by giving you straight-up recommendations so you can level up your nail stamping game without the guesswork.
Key Takeaways
- Stamping success is all about using polishes with the right opacity, high pigmentation, and consistency to get clear, vibrant designs with one stamp.
- Stamping polishes differ from regular polishes because they have a thicker consistency and quicker drying time. They are specifically formulated for stamping plates and tools for precise transfers.
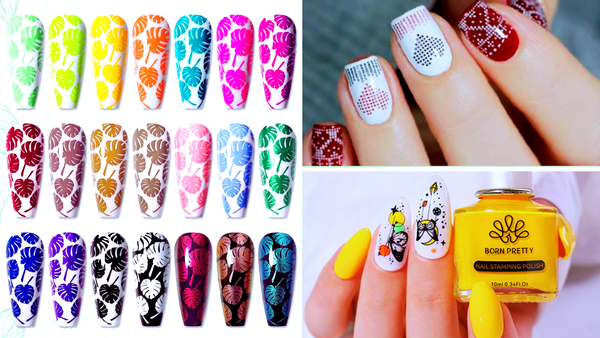
- Top stamping nail polish brands like Born Pretty have non-toxic formulas, long wear, and quick dry polishes for professional-looking nail art.
Unlocking the Secrets to Perfect Nail Stamping

Nail stamping is an art, and its success lies in three things: opacity, pigmentation, and consistency. The right nail polish can distinguish between a smudge and stunning nail art. We will break down the importance of these and how they play a role in creating perfect designs that grab attention.
Opacity Matters
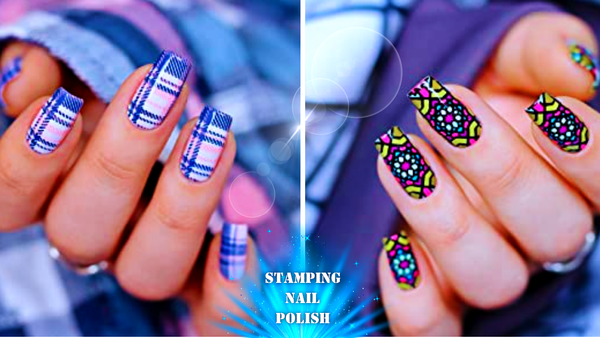
In the world of nail stamping, opacity is number one. Using opaque polish means your designs are clear, sharp, and vibrant with one stamp. Most regular nail polishes are often too sheer and require multiple coats, making them less ideal for stamping. Imagine stamping a beautiful design only to find it barely visible because the polish was too sheer. An opaque polish covers the base color and provides a bright, solid background for intricate designs.
The Role of Pigmentation
Polishes with high pigmentation are the unsung heroes of nail stamping. They make every line and detail of your design pop on your nail. The special formula of stamping polishes, which is thicker and more pigmented than regular nail polish, allows for bolder and more striking designs. Whether you’re stamping a delicate lace pattern or a bold geometric design, a highly pigmented gel polish will make it pop against any base color.
Consistency is Key
Nail stamping success relies heavily on the consistency of the polish. A polish that’s too thick can be clumpy and one that’s too thin won’t pick up the design. The perfect stamping polish has a medium consistency that fills the grooves of the stamping plate and transfers cleanly onto the nail.
Surprisingly, almost any nail polish can be used for stamping if the consistency is right. So getting that perfect thickness is key to capturing details without smudging, and using thicker polish can make a big difference.
Stamping Polishes vs. Regular Polishes

Comprehending the distinctions between stamping and regular nail polishes can markedly enhance the outcome of your nail art. Stamping polishes have a thicker consistency and are specifically formulated to work with stamping plates and tools, unlike most regular polishes. They also tend to dry more quickly, essential for effective design transfer. Additionally, the technique for stamping polish is distinct, necessitating accurate tools and methods for superior results.
Specialized Formulas
Stamping polishes are crafted with specialized formulas designed to perform optimally with stamping plates and tools. These polishes offer the following benefits:
- Highly pigmented colors
- Vibrant and opaque designs on the nails
- Crisp and visually striking transfers
- Essential for achieving professional-looking nail art
Drying Time Dynamics
One of the standout features of stamping polishes is their quick-drying nature. This is crucial because it lets the polish transfer cleanly from the stamping plate to the nail without smudging. On the other hand, regular nail polishes often take longer to dry, which can result in incomplete or messy transfers. Thus, the speedy drying time of stamping polishes is a game-changer for nail art enthusiasts.
Application Techniques
The application technique for stamping polishes differs significantly from regular nail polish. Instead of brushing the polish directly onto the nail, apply it to a metal plate, use a scraper to remove excess polish, and then pick up the design with a stamper. Timing is critical, as the polish must be transferred to the nail before dries. This unique method allows for the precise and detailed application of intricate designs.
Mastering the Stamping Technique with Regular Nail Polish

Although specialized stamping polishes are the best choice, mastering certain techniques can yield impressive results with regular nail polish. Mastering regular polish for stamping involves proper nail preparation, achieving the right thickness, and sealing your art with a top coat.
Preparing Your Nails
Proper nail preparation is the foundation of successful nail stamping. Start with clean, natural nails to ensure the polish adheres well and to avoid issues like discoloration and brittleness. Use a ridge-filling base coat to create a smooth canvas for your design. This step is crucial for achieving a neat and precise result, especially when using regular nail polishes for stamping.
Achieving the Right Thickness
Regular nail polish can be used for stamping if it has the right thickness. Thick nail polish works well for stamping because it maintains consistency and does not lose form when stamped. You can thicken regular polish by exposing it to air or adding thickening agents. Older polishes that have naturally thickened over time can also be great for stamping.
Stirring the polish while thickening helps maintain an even consistency, ensuring smooth and detailed transfers.
Sealing Your Art
Once you’ve stamped your design, sealing it with a top coat is essential to maintain its integrity. A top coat prevents premature chipping and fading, ensuring your nail art lasts longer. Glossy top coats can add a high-shine finish, while matte top coats offer a unique, modern look.
Always allow the stamped design to dry before applying the top coat to avoid smudging.
Essential Tools for Nail Stamping Success

For optimal results in nail stamping, it is important to have the right tools parallel to the appropriate polish. Essential tools include:
- Stamping plates
- Scrapers
- Stampers
- Cleanup supplies
These tools work together to ensure precise and clean transfers of your nail designs.
Stamping Plates: Your Design Canvas
Stamping plates serve as the canvas for your nail art, offering a variety of designs to choose from. Made from durable stainless steel, these plates can be used repeatedly, making them a long-lasting addition to your nail art supplies. Stamping plates unlock endless creative possibilities, whether you prefer simple shapes or elaborate patterns.
Scrapers and Stampers: The Transfer Team
Scrapers and stampers are crucial for transferring designs from the plate to your nails. Typically made from silicone, the stamper picks up the design, while the scraper removes excess polish from the plate. Holding the scraper at a 45-degree angle ensures clean removal of excess polish, allowing for a precise and clean transfer.
Cleanup Supplies
Maintaining clean tools is essential for successful nail stamping. Keep nail polish remover, cotton balls, and makeup pads on hand to clean the stamper, scraper, and plate after each use. Using 100% acetone ensures no residue is left behind, which could affect future designs. Lint-free cotton swabs and wipes are recommended to avoid contaminating your manicure with fibers.
Innovative Nail Art Ideas Using Stamping

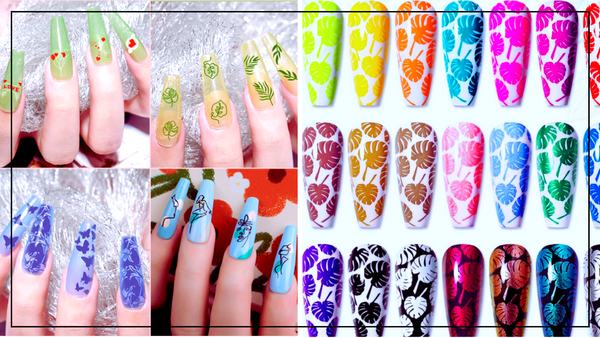
Nail stamping offers a plethora of creative possibilities. Whether you favor monochrome elegance, holographic highlights, or seasonal themes, your designs are only restricted by your creativity. Let’s explore some innovative ideas that could inspire your next manicure creation.
Monochrome Elegance
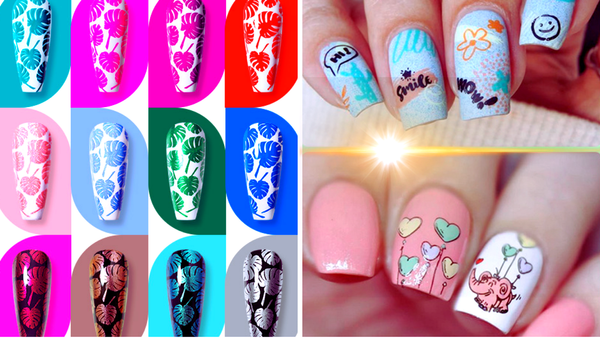
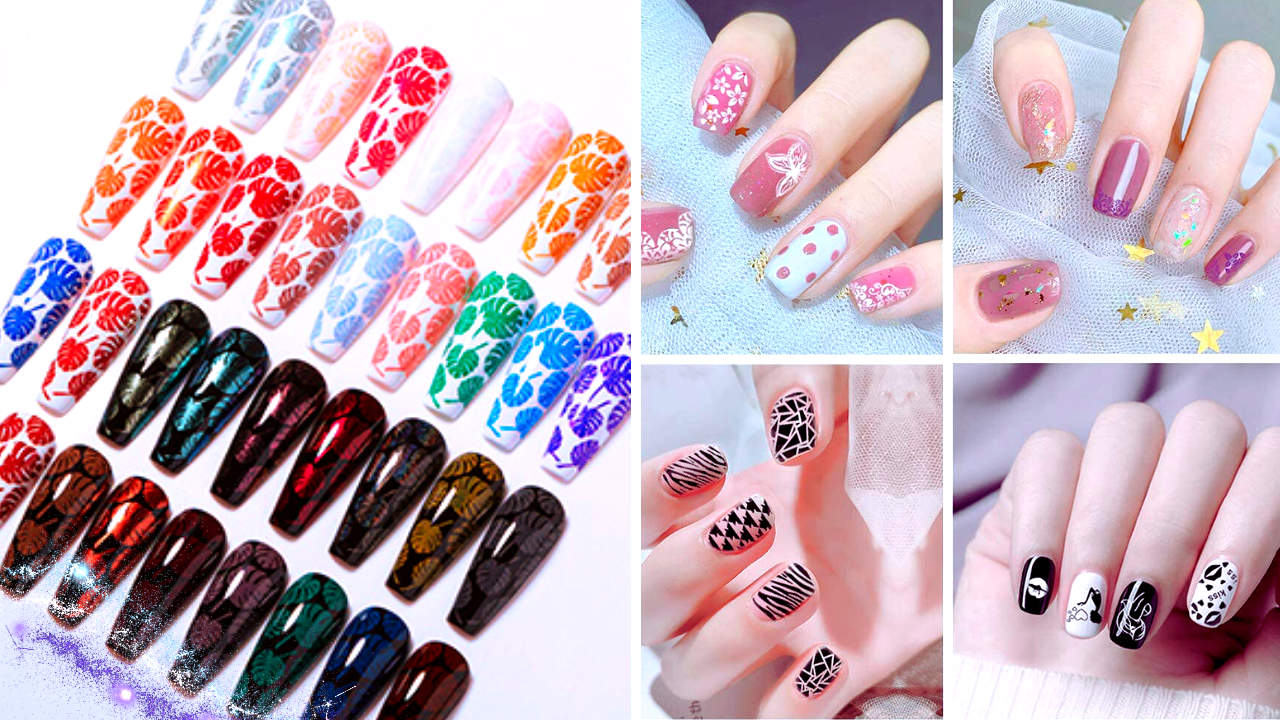
Monochrome designs in black and white can create sophisticated and timeless nail art. You can add intricate lace details or patterns such as polka dots and stripes for a chic and elegant look using white stamping polish. These designs are perfect for any occasion and always make a statement.
Holographic Highlights
Add a touch of magic to your nails with holographic highlights and gel nail polish. Holographic polishes offer a range of shimmering effects, including:
- Subtle glows
- Dazzling glitz
- Swirls
- Flames
- Gradient designs
These designs are perfect for showcasing the dynamic and eye-catching nature of holographic polishes. Imagine traditional French tips reimagined with a holographic twist, lending a modern metallic look to this classic style.
Seasonal Themes
Celebrate the seasons with festive nail art designs that reflect the time of year. Here are some ideas:
- For winter, think snowflakes and a snowy universe.
- Christmas-themed designs might include mini Christmas trees or festive patterns.
- Hanukkah can be honored with menorahs or the Star of David.
Seasonal themes allow you to adapt your nail lacquer color choices and stamping patterns to match the festive spirit, making your nails a part of the celebration.
Professional Tips for Flawless Stamping

Crafting perfect stamped designs necessitates more than merely the correct polish and tools. It also involves expert techniques and tips to overcome common challenges. From choosing the right plate images to troubleshooting issues and enhancing the longevity of your designs, these professional tips will help you perfect your nail stamping skills.
Enhancing Longevity
To prolong the life of your stamped designs, apply a high-quality, smudge-free top coat. Protecting the skin around your nails with cuticle protector tapes can lead to cleaner results and contribute to the overall durability of your nail art. For an extra layer of durability, consider double stamping, where you stamp a pattern over a solid design using wet polish to adhere to the top design.
Summary
In summary, achieving flawless nail stamping involves selecting the right polishes, mastering the technique, and using the appropriate tools. By focusing on opacity, pigmentation, and consistency and by choosing top brands like Born Pretty, you can create stunning nail art at home. Remember to prepare your nails properly, achieve the right polish thickness, and seal your designs to maintain their integrity. With these tips and tools, you’re on your way to becoming a nail stamping pro. Plus, discover amazing deals on nail essentials with discounts of up to 60% off! Don't miss out on enhancing your nail art collection today.
FAQs
Can I use regular nail polish for stamping?
Yes, you can use regular nail polish for stamping if it’s thickened and highly pigmented.
Why is opacity important in stamping polishes?
Opacity is important in stamping polishes because it will make the stamped design clear, defined, and vibrant with just one stamp, covering the base color.
What are the benefits of Born Pretty stamping polishes?
Born Pretty stamping polishes are non-toxic, smooth to apply, and create color shifts over darker bases for visual interest. Try them out and enjoy!