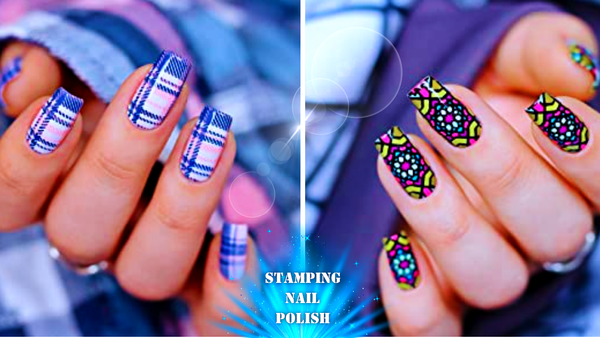


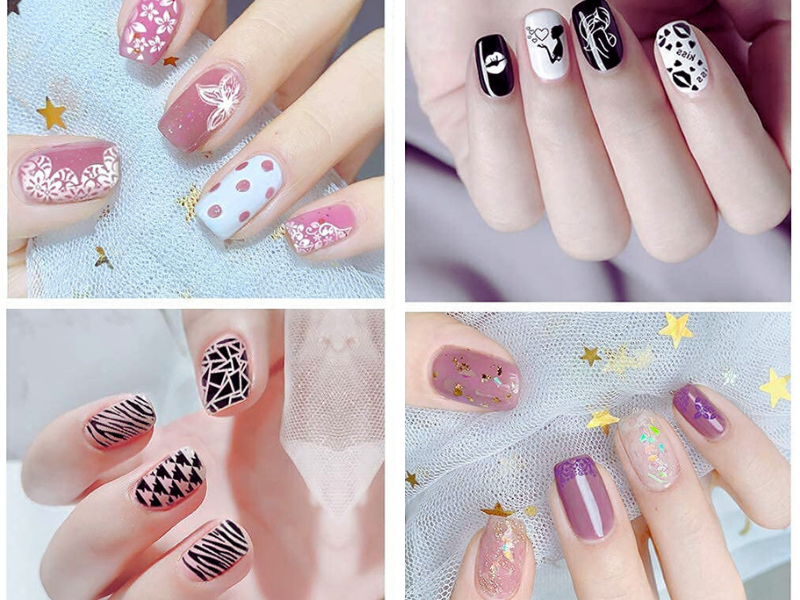
Nail stamping is a fun and creative way to elevate your nail art game. But what nail polish is used for stamping with a nail stamper? This article dives deep into nail stamping, exploring the best polishes, techniques, and tips for flawless designs.
Key Takeaways:
- Stamping polishes are specially formulated for nail stamping, offering a thicker consistency and higher pigmentation.
- Regular nail polishes can be used for stamping, but they must be highly pigmented and have a thick consistency.
- Proper tools and techniques, including stamper and stamping plates, are crucial for achieving clean and intricate designs.
- Using a nail stamping plate is essential to transfer complex patterns and designs onto the nails cleanly.
Understanding Nail Stamping
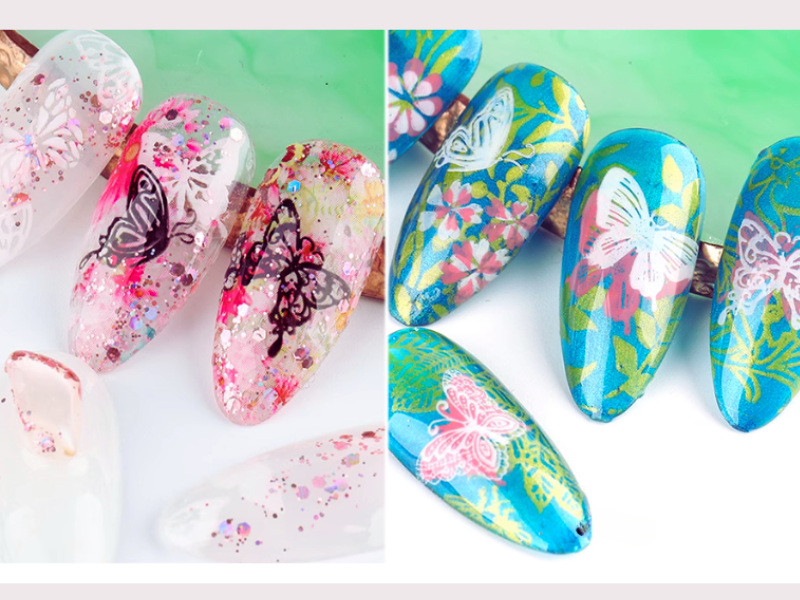
Using a stamper, nail stamping involves transferring designs from a stamping plate to your nails. This technique allows for intricate and detailed nail art that would be challenging to achieve freehand. Cleaning the nail stamping plates is crucial for a perfect transfer of the nail polish design onto the stamp. The key to successful nail stamping lies in the polish used.
Stamping Polishes vs. Regular Nail Polishes
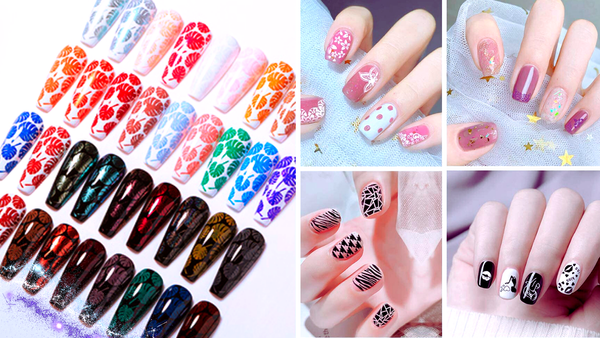
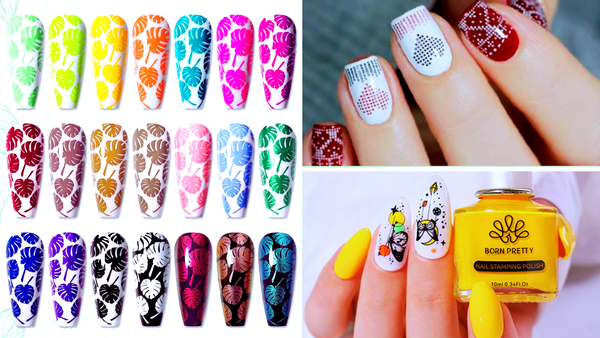
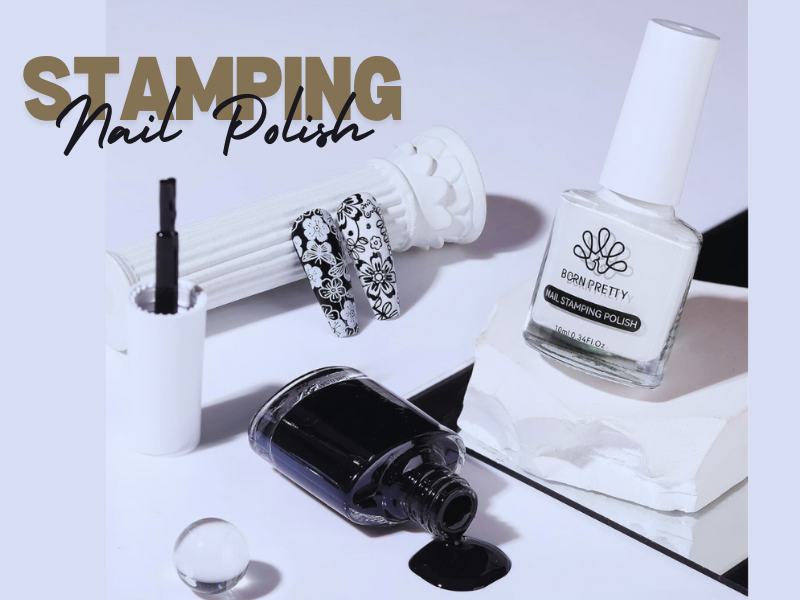
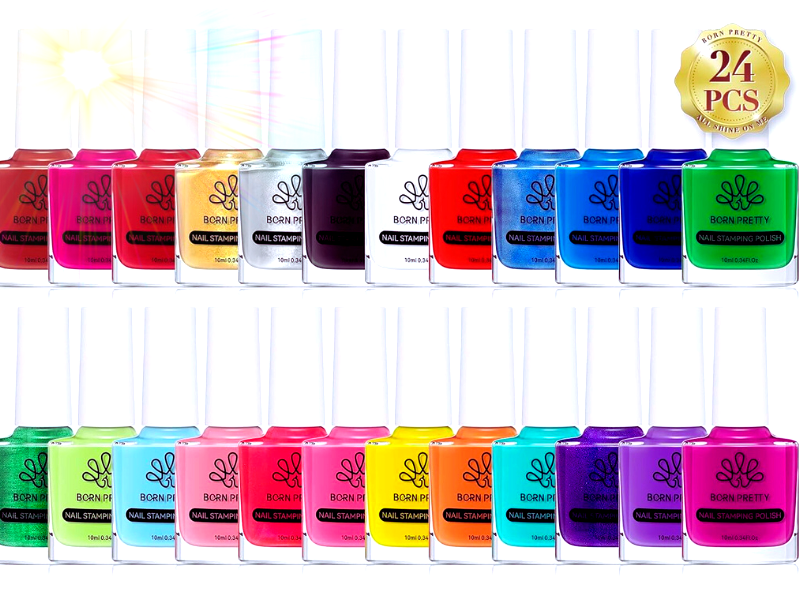
Stamping polishes are specifically designed for nail stamping. They have a thicker consistency and are highly pigmented, ensuring the design transfers cleanly and vividly onto the nail. Brands like Born Pretty and Twinkled T offer various stamping polishes in multiple colors. While regular nail polishes can be used for stamping, they must meet certain criteria. The polish should be highly pigmented and have a thick consistency. Brands like Essie and OPI have regular polishes that work well for stamping but may not always provide the same level of detail and vibrancy as stamping polishes.
Choosing the Right Stamping Polish
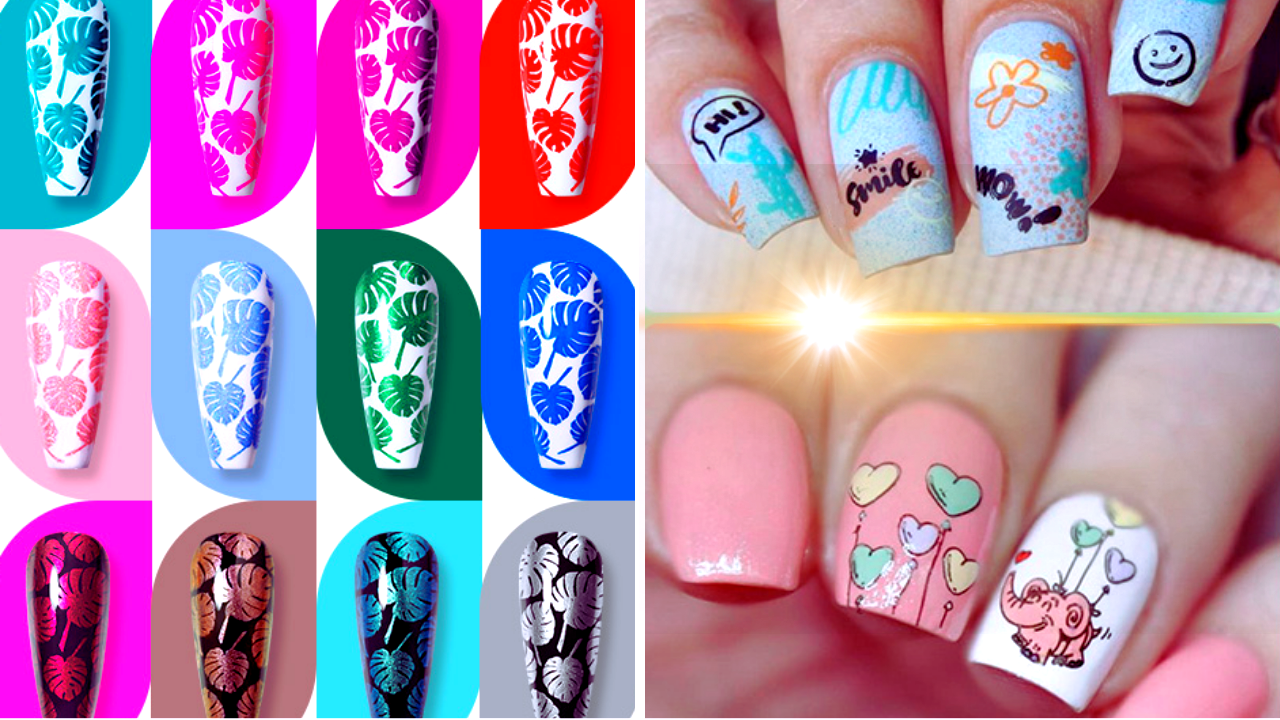
The pigmentation of the polish is crucial for nail stamping. A highly pigmented polish ensures that the design is opaque and stands out on the nail. Light colors like white and silver, as well as vibrant shades like pink and blue, are popular choices for stamping. The consistency of the polish is another important factor. A thicker polish is less likely to smear and will transfer the design more cleanly. If a regular polish is too thin, it may not effectively pick up the design from the stamping plate. Additionally, the polish dries nicely, allowing for vibrant designs to be applied using stamping plates.
Tools for Nail Stamping
Stamping plates are metal plates etched with various designs. These plates come in different sizes and patterns, allowing for endless creativity. Brands like Born Pretty offer a wide range of stamping plates with intricate designs. A stamper picks up the design from the stamping plate and transfers it to the nail. Stampers come in different shapes and sizes, and some are clear, allowing for precise placement of the design. Using tools and polishes made with natural resin ensures that your nail art is non-toxic, environmentally friendly, and vibrant.
Preparing Your Nails for Stamping
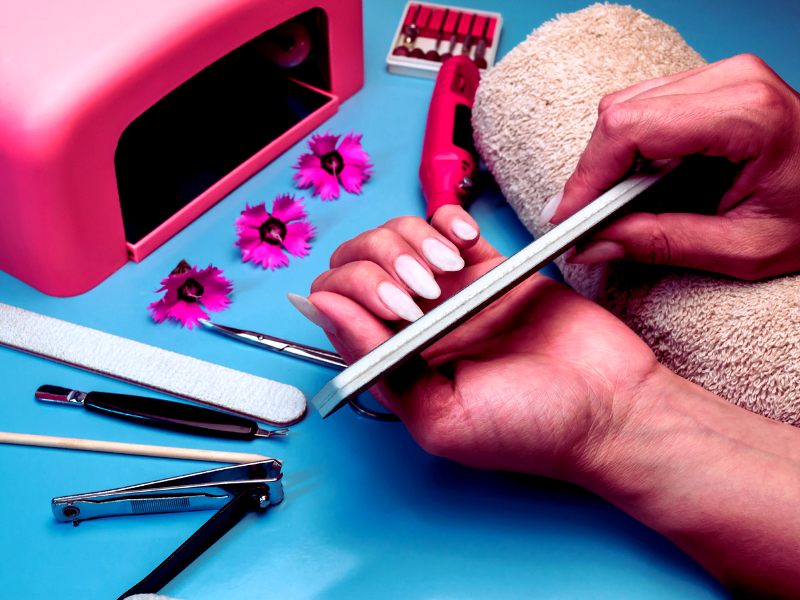
Applying a base coat is essential to protect your natural nails and provide a smooth surface for the polish. A special base coat designed for nail stamping can enhance the longevity of your design. Choosing the right base color is important for making your stamped design pop. A contrasting color to the stamping polish will make the design stand out. For example, a white base color works well with vibrant stamping polishes.
The Stamping Process
Apply a generous amount of stamping nail polish to the design on the stamping plate. Use a scraper to remove the excess polish, leaving the polish only in the etched design. Press the stamper onto the design to pick it up. Then, roll the stamper over your nail to transfer the design. Ensure that the design is centered and covers the desired nail area.
Finishing Touches
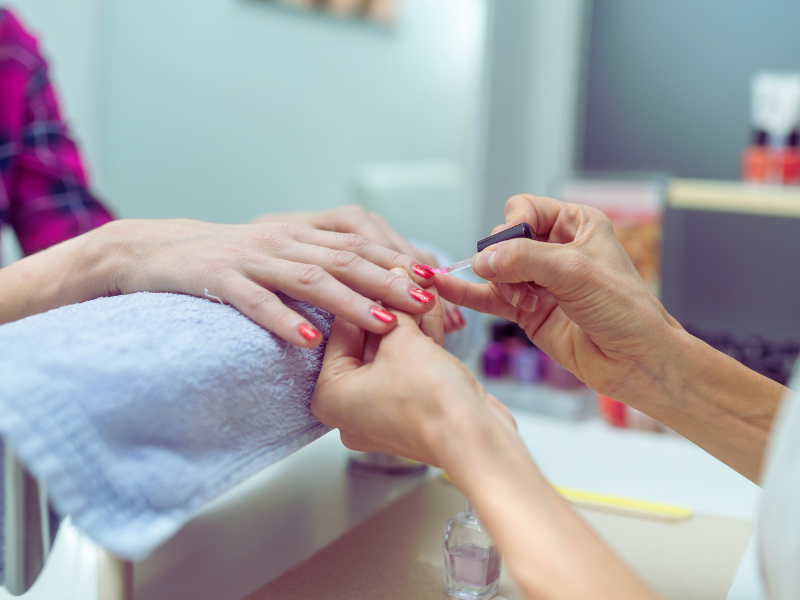
Applying a top coat is crucial to seal the design and add a glossy finish. A special topcoat designed for nail stamping can prevent smudging and extend the life of your nail art. Clean the edges of your nails with a brush dipped in nail polish remover to remove any excess polish. This step ensures a neat and professional-looking finish.
Tips for Successful Nail Stamping
Nail stamping can be challenging initially, but you can achieve stunning results with practice. Experiment with different polishes, stamping plates, and techniques to discover what works best. Consider using a UV lamp to cure the polish to ensure your stamped design lasts longer.
This additional step helps the polish dry quickly and prevents smudging, giving you a more durable and professional-looking finish. By dedicating time to practice and incorporating a UV lamp into your routine, you can master the art of nail stamping and consistently create beautiful, long-lasting designs.
Popular Stamping Polish Brands
Born Pretty is a well-known brand in the nail art community, offering a wide range of stamping polishes, plates, and tools. Their polishes are highly pigmented and have a thick consistency, making them ideal for stamping. Twinkled T offers a variety of stamping polishes in vibrant colors. Their polishes are known for their smooth application and clean transfer, making them a great option for both beginners and experienced nail artists.
Case Study: Achieving Intricate Designs
A nail artist faced difficulty creating a detailed floral design with regular nail polish due to its thin consistency and poor transfer. Switching to a thicker, highly pigmented stamping polish from Born Pretty resolved the issue, allowing the design to transfer perfectly and resulting in a beautiful, intricate floral pattern.
Common Mistakes and How to Avoid Them
Using thin polishes often results in smeared or incomplete designs, making it challenging to achieve the desired look. To avoid this, always opt for polishes with a thick consistency, as they provide better coverage and ensure a crisp, clean transfer. Additionally, not cleaning your stamper regularly can negatively affect the design transfer.
To maintain optimal performance, clean your stamper frequently using a lint roller or tape. This simple step ensures that the stamper is free of residue, leading to a smooth and precise transfer every time. You can consistently achieve flawless nail art designs by choosing the right polish and keeping your tools clean.
Nail Stamping Kits
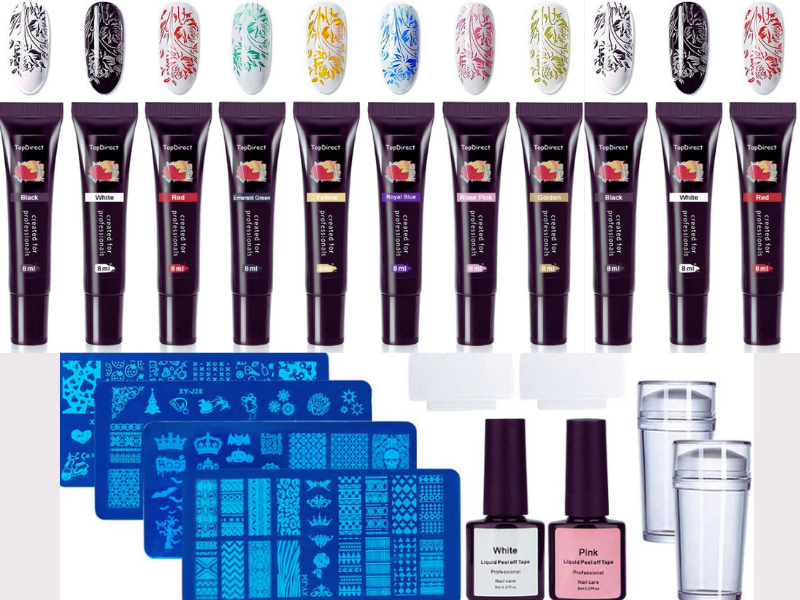
When purchasing a nail stamping kit, look for one that includes a variety of stamping plates, a stamper, and a scraper. Some kits also include stamping polishes, making them a great option for beginners.
The Born Pretty Nail Stamping Kit and the Twinkled T Stamping Kit are excellent choices. These kits include everything you need to start with nail stamping and offer high-quality tools and polishes.
Nail Stamping for Beginners
If you're new to nail stamping, start with simple designs and work up to more intricate patterns. Practice on paper or a nail wheel before applying the design to your nails. There are many online tutorials and videos available that can help you learn the basics of nail stamping. Websites like YouTube and Instagram are great places to find step-by-step guides and inspiration.
Advanced Nail Stamping Techniques
Layering different designs can create a unique and complex look. Start with a base design and add additional layers using different colors and patterns. Reverse stamping involves coloring the design on the stamper before transferring it to the nail. This technique allows for more detailed and colorful designs.
Maintaining Your Nail Art
Avoid activities that can cause chipping or peeling to protect your stamped design. Wearing gloves while doing household chores can help preserve your nail art. If your design starts to fade or chip, you can touch it by reapplying the stamping polish to the affected areas. This step can extend the life of your nail art and keep it looking fresh.
Summary
Nail stamping is a creative and fun way to achieve intricate nail art designs. The key to successful nail stamping is using the right polish, tools, and techniques. Stamping polishes are ideal for this technique with their thick consistency and high pigmentation. Regular nail polishes can also be used, provided they are highly pigmented and thick. You can create stunning nail art that stands out with practice and the right tools. Plus, check out amazing deals on nail tools now!
FAQ
What is the main difference between stamping polish and regular nail polish?
Stamping polish is specifically formulated for nail stamping, offering a thicker consistency and higher pigmentation. This ensures that the design transfers cleanly and vividly onto the nail. Regular nail polishes can be used for stamping, but they must be highly pigmented and have a thick consistency.
Can I use gel polish for nail stamping?
Yes, gel polish can be used for nail stamping. However, it requires curing under a UV lamp to dry quickly and prevent smudging. Gel polish offers long-lasting results and can create vibrant and intricate designs.
How do I clean my stamping plates and stamper?
To clean your stamping plates, use a cotton pad soaked in nail polish remover to wipe away any excess polish. Use a lint roller or tape to remove any residue from the stamper. Avoid using acetone on the stamper, as it can damage the surface.